Category: Gaming

  • Xbox Mode on Windows 11: How to Turn Your PC into a Console

    Xbox Mode on Windows 11: How to Turn Your PC into a Console

    What is Xbox Full Screen Experience (FSE)?

    Xbox Mode is an experimental feature currently being tested in Windows Insider builds, Designed with modern gaming devices and controller-first experiences in mind, that completely re-imagines the standard desktop interface.

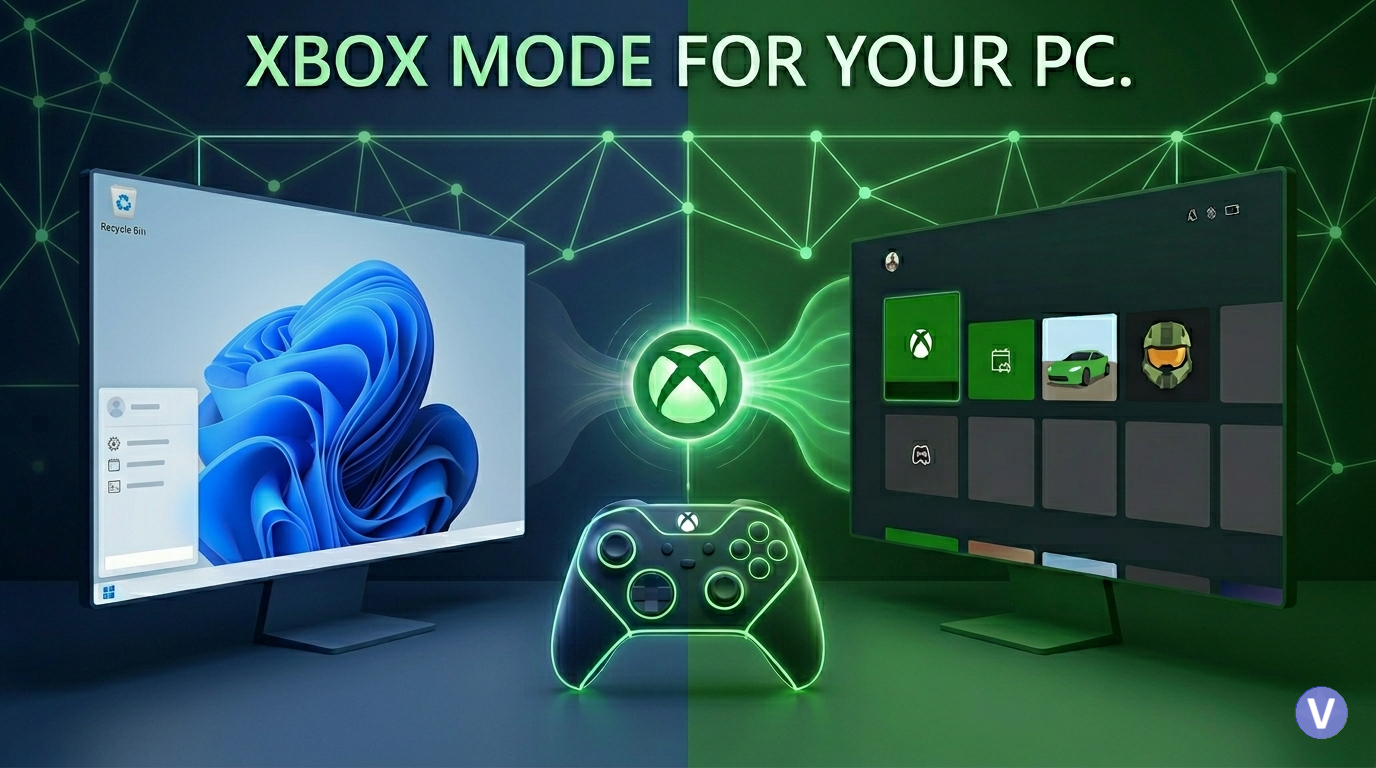
    It is similar to Steams “Big Picture Mode” for your PC. It provides a full-screen gaming interface layered on top of Windows, rather than replacing the operating system with a simplified, controller-friendly interface dedicated entirely to your game library and the Xbox App. It’s the perfect solution for turning a living room PC or a gaming laptop into a console.


    Why You Should Use It: The Benefits

    The biggest reason to use FSE is resource optimization. Because this mode significantly reduces the amount of background activity on your PC.

    The Key Advantages:

    • Save 2GB of System RAM: Tests have shown that running in FSE mode can free up an average of 2 GB of RAM. This is massive for systems with limited RAM (like 16GB) or iGPUs (which share system memory with the graphics processor).
    • Multitask Like a Console: The mode allows you to have multiple games running at once and seamlessly swap between them. By using a controller’s Xbox Button, you can open a dedicated task switcher to jump between active games.
    • A True Living Room Experience: FSE makes using a PC in your living room far easier. You can navigate your entire Game Pass library, launch games, and switch between applications using only an Xbox controller.
    • Performance Gains (Small but Real): While you shouldn’t expect a miraculous jump in frame rates, you may see minor gains. In early tests, some benchmarks like Cyberpunk 2077 saw an increase of 1-2 FPS simply because fewer resources were being diverted to the desktop.

    How to Activate Xbox Mode on Your PC

    Currently, this feature is available through the Windows Insider Program. Follow these steps to get it running on any Windows 11 machine.

    Step 1: Join the Xbox Insider Preview

    • Go to the Microsoft Store and download the Xbox Insider Hub.
    • Once installed, launch the app and navigate to Previews > PC Gaming.
    • Choose Manage Opt-in and opt into the PC Gaming preview.

    Step 2: Join the Windows Insider Program

    • Open your PC Settings.
    • Go to Windows Update > Windows Insider Program.
    • Click Get Started and link your Microsoft/Xbox account.
    • Important: When prompted, select either the Dev Channel or the Beta Channel. (The Beta Channel is highly recommended for stability).
    • Restart your PC to complete the update process.

    Step 3: Enable Xbox Full Screen Experience

    • After your PC restarts, return to Settings.
    • Go to Gaming > Full Screen Experience.
    • Toggle “Enter full screen experience on startup” to ON.
    • Your default Home App will be set to the Xbox App.

    Control and Navigation

    While you can navigate FSE with a keyboard and mouse, it is explicitly designed for an Xbox Controller.

    • Enter Mode (Manual): If you don’t use the startup option, you can enter FSE at any time by pressing Windows + G and selecting it from the Game Bar.
    • Quick Menu: Pressing the Xbox Button (the central “Guide” button) will open the familiar Game Bar overlay.
    • Task Switching: To swap between active games, HOLD the Xbox Button. This will bring up the dedicated task switcher, allowing you to quickly jump to another running application or game.

    Wrapping Up: The Start of a Great Feature

    Microsoft has indicated that FSE will continue to receive updates, including the ability to set other applications (like Steam’s Big Picture Mode) as your default Home App. For now, it’s a powerful, resource-saving tool that significantly improves the experience of gaming on a standard Windows 11 PC.

  • A 6-Phase Guide to Fixing “VIDEO DXGKRNL FATAL ERROR”

    A 6-Phase Guide to Fixing “VIDEO DXGKRNL FATAL ERROR”

    You’re mid-game or deep into a project when the screen freezes, the ‘Blue Screen of Death’ (BSOD) appears, and your PC reboots. If you’ve already tried reinstalling your drivers only to see the same errors return, you aren’t alone. Video DXGKRNL Fatal Error and Event ID 14 are common ‘wall’ errors that stop most users in their tracks. This expanded guide moves beyond basic advice, offering a professional-grade troubleshooting protocol that scales from simple software repairs to advanced hardware diagnostics. We’ll help you determine if your issue is a fixable software bug or a sign that your GPU needs a physical checkup.

    Phase 1: Advanced Diagnostics and Error Identification

    Before attempting repairs, pinpoint the exact nature of the failure to avoid unnecessary troubleshooting.

    • DirectX Diagnostic Tool: Run dxdiag in the Windows search bar. Verify if drivers are “WHQL” (digitally signed). Check the Display tab’s “Notes” section for specific Error 43 messages, which indicate a communication breakdown between the OS and hardware.
    • Event Viewer Analysis: Look for Event ID 14 (nvlddmkm) or Event ID 86 (taskhostw.exe). Go to Device Manager > GPU Properties > Events to see logs related to “Device not started” or “Driver migration failures.” Red error logs here provide the specific search terms needed for targeted fixes.
    • Visual Hardware Cues: Watch for “artifacting” (random lines, flickering, or checkerboard patterns) during heavy use. If these appear before the crash, the physical GPU is likely failing.

    Phase 2: System Integrity and Environment Setup

    A stable software environment is required for drivers to function correctly.

    • Core Windows Repairs: Open Command Prompt (Admin) and run:
      1. sfc /scannow (To fix corrupted system files).
      2. Dism /Online /Cleanup-Image /RestoreHealth (To repair the Windows Component Store).
    • Disable Fast Startup: Go to Control Panel > Power Options > Choose what the power buttons do. Uncheck Turn on fast startup. This ensures Windows loads a “fresh” driver state every boot rather than a potentially corrupted saved state.
    • Runtime Libraries: Install the latest Visual C++ Redistributable All-in-One package. Many kernel-level driver functions rely on these libraries to communicate with the OS.

    Phase 3: Deep Driver Cleaning (DDU Method)

    Standard uninstalls often leave “ghost” files that cause version conflicts.

    1. Preparation: Download your latest GPU driver from the official site (Nvidia/AMD/Intel) and disconnect your internet to prevent Windows from auto-installing a generic driver mid-process.
    2. Enter Safe Mode: Use msconfig > Boot tab > Safe boot (Minimal).
    3. Execute DDU: Open Display Driver Uninstaller (DDU). Select your GPU type and choose “Clean and Restart.”
    4. Manual Reinstall: Once rebooted, run the driver installer you downloaded. Avoid “Beta” versions; stick to “Game Ready” or “Studio” drivers for stability.

    Phase 4: Registry, Security, and Power Tweaks

    Sometimes “Timeouts” or security layers trigger fatal kernel crashes.

    • TDR Delay Fix: To stop Windows from crashing if the GPU takes too long to “wake up,” navigate to: HKEY_LOCAL_MACHINE\SYSTEM\CurrentControlSet\Control\GraphicsDrivers Create a DWORD (32-bit) named TdrDelay and set its decimal value to 8 (or 10).
    • Core Isolation: Go to Windows Security > Device Security > Core Isolation. Try turning off Memory Integrity. If this fixes the error, an older driver on your system was incompatible with Windows’ modern security layers.
    • Power Management: In Power Options, set your plan to High Performance and reduce “Maximum processor state” to 95% to stabilize the system voltage under heavy load.

    Phase 5: Hardware and Firmware Troubleshooting

    If software fixes fail, the issue likely resides in the hardware or its BIOS.

    • Motherboard BIOS Update: Use System Information to check your BIOS version. Outdated BIOS versions (common in Ryzen or Intel 13th/14th Gen builds) can cause PCIe communication errors that look like GPU failures.
    • The PSU “Power Limit” Test: Use MSI Afterburner to lower the “Power Limit” of your GPU to 80%. If the crashes stop, your Power Supply (PSU) is likely failing to handle “transient spikes” or is under-powered for your card.
    • VBIOS Flashing (Last Resort): For persistent Error 43, you can re-flash the card’s own BIOS using a tool like NVFlash.
      ⚠️ WARNING: Only do this on a UPS (Battery backup). A power cut during this process will permanently destroy (brick) the GPU.
    • Physical Check: Reseat the GPU in its slot and ensure the 12VHPWR or PCIe power cables are pushed in all the way until they “click.”

    Phase 6: Final Recovery Options

    • Reset this PC: If the error persists after a clean Windows install, the problem is not your software.
    • Hardware Confirmation: Test the GPU in a different PC. If it still shows Error 43 or crashes with a DXGKRNL error on a totally different system, the GPU hardware is faulty and needs an RMA or replacement.

    Final Verdict

    Troubleshooting graphics errors is often a process of elimination. It’s rare that a single click fixes a kernel-level crash, but by following these six phases, you’ve cleared the path for a stable system. Did one of these specific tweaks—like the TdrDelay or a BIOS update—finally stop your crashes? Share your results in the comments below to help the next person facing the ‘Blue Screen of Death’ get back to what they do best: gaming and creating.